
Wood Arc Hammock Stand Installation Guide
This beautiful wood arc hammock frame is designed for comfort and durability. Made of hardwood Russian pine and stained with a spar finish, it's easy to assemble and stylish.
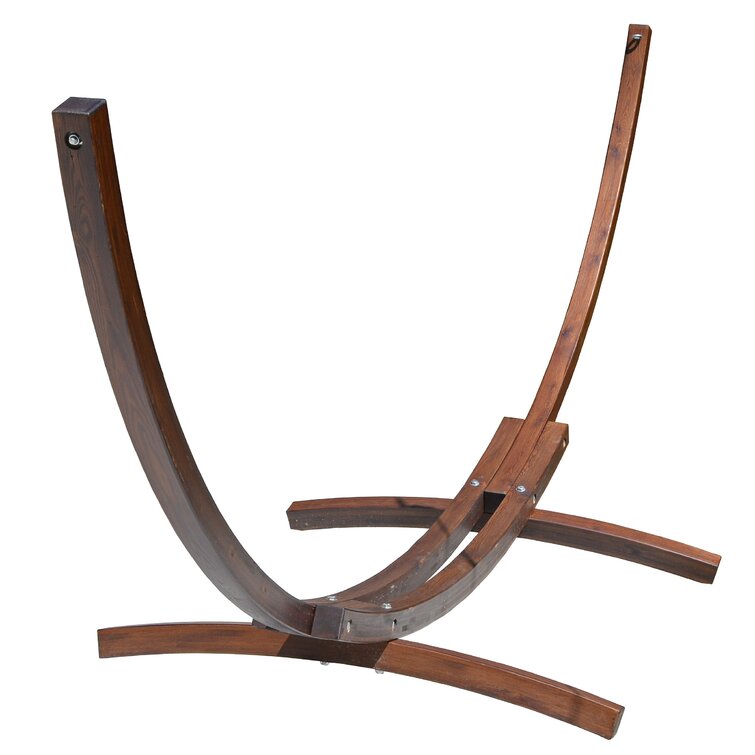
Product list

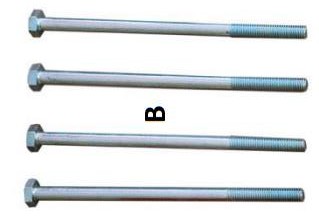
A – Hardware Bag B - #17 by 7”L bolts (x 4)
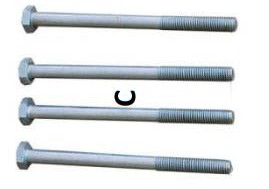

C - #17 by 5 ½”L bolts (x 4) D - #17 washers (x 18)

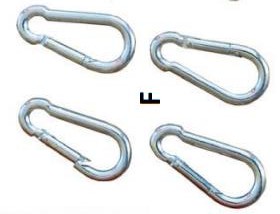
E - #17 lock nuts (x 10) F – Carabiner clip (x 4)
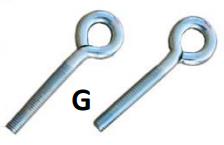
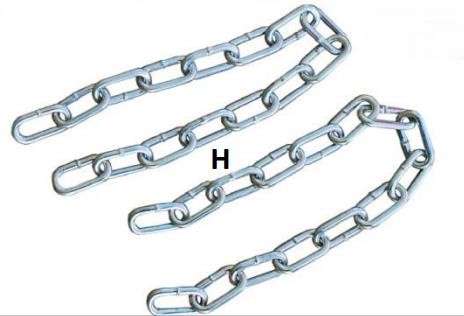
G – Eye bolt (x 2) H – 15 link chain (x 2)
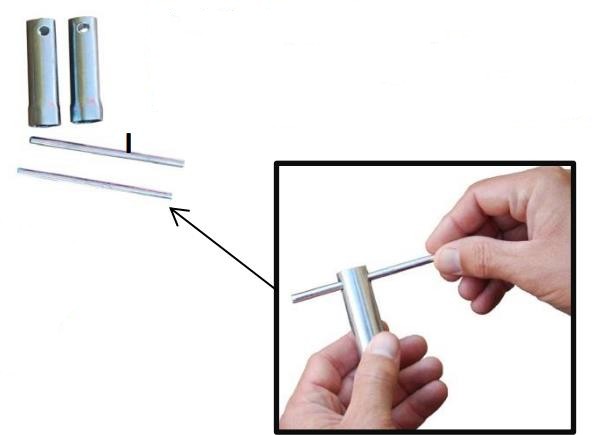
I – 2-piece #17 wrench (x 2)
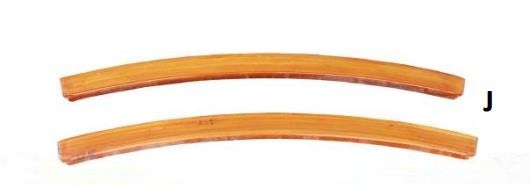
J – Legs (x 2)

K – Center braces (x 2)
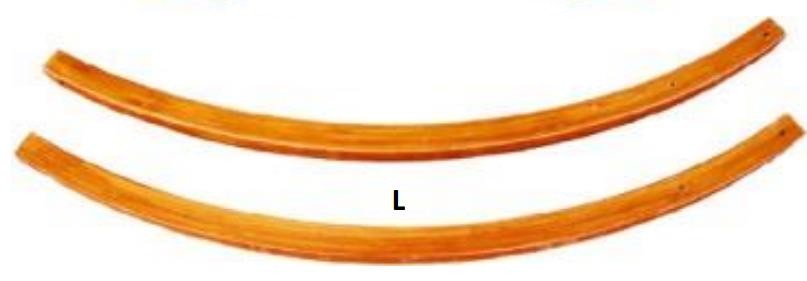
L – Uprights (x 2)
Assembly can accomplished with one person, but for easier assembly a second person is recommended.
Step 1
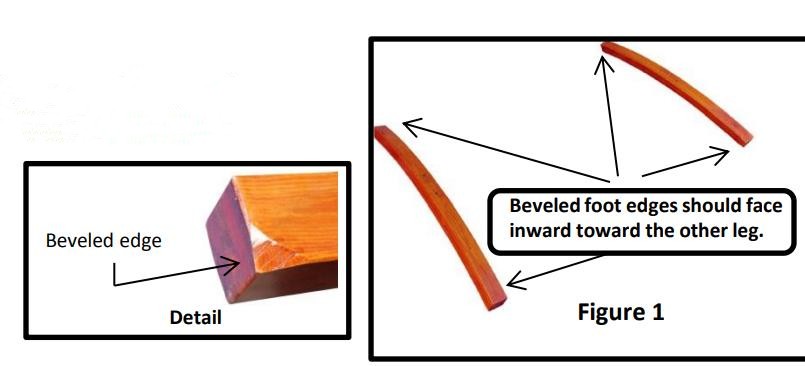
Locate the stand legs (Part J) and place on level surface about 3 ½ feet apart as in figure 1. The beveled edges on the bottom of the legs should face each other
Step 2
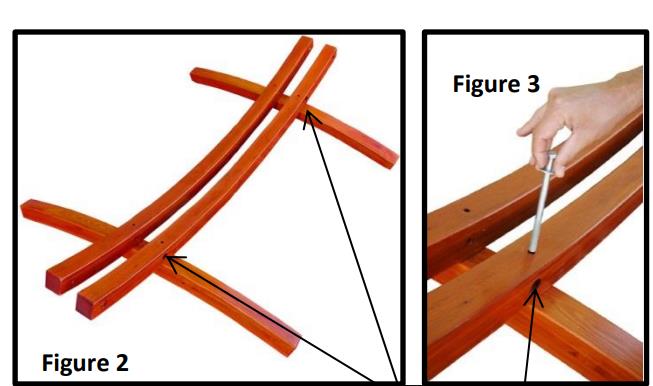
Locate center braces (Part K) and place on top of the legs (Part J) so that the ends of the braces curve upward as in figure 2, and the larger counter sink holes of the center braces are facing the outside. Locate 5- ½” bolts (Part C) and washers (Part D). Place washer (Part D) onto bolt (Part C), then align holes on the top of each center brace (Part K) with the holes on top of leg (Part J). Place the 4 bolts through the aligned holes as in figure 3. Locate 4 more washers (Part D), and 4 lock-nuts (Part E). Place the washer (Part D) on the end of the bolts (Part C) and finger tighten with the lock-nut (Part E). Do not securely tighten at this time.
Step 3
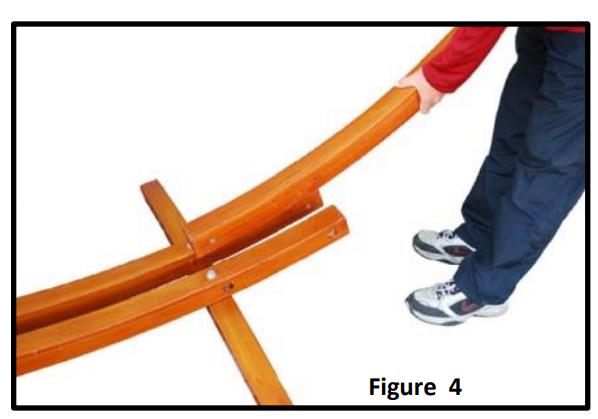
Locate the upright sections (Part L) and place between the two center brace pieces (Part K) as shown in Figure 4. Align the two holes of Part L with the two holes in Part K. Place a washer (Part D) onto the 7” bolts (Part B) and tap through the center brace and upright pieces as shown in Figure 5. Place another washer (Part D) and lock-nut (Part E) on the end of the bolt as shown in Figure 6, then tighten bolt securely using the two included wrenches (Part I) as shown in Figure 7. Repeat this procedure on the second bolt. Repeat procedure again for opposite upright.

Step 4
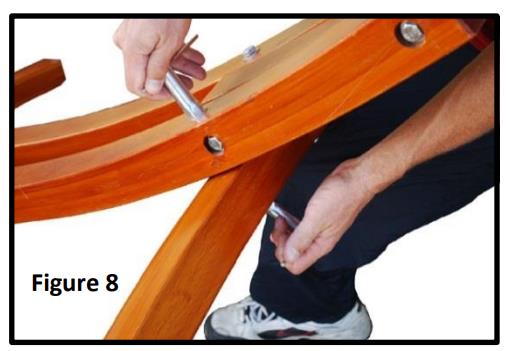
With the uprights now in place, tighten the bolts that connect the legs (Part J) to the center braces (Part K) using the included wrenches (Part I) as shown in Figure 8.
Step 5
Locate the eye-bolts (Part G) and place through the hole on the top of the upright (Part L) with the eye facing the inside of the stand as in Figure 9. Place a washer (Part D) then a lock-nut (Part E) onto the threaded end of the eye-bolt as in Figure 10. Tighten bolt with the included wrenches (Part I) as in Figure 11.

Step 6
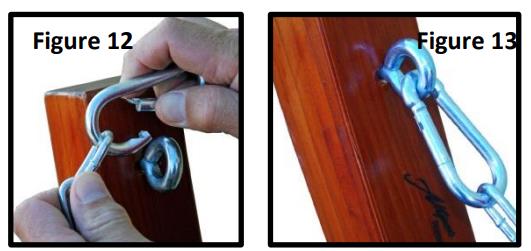
Locate the two lengths of chain (Part H) and the 4 Carabiner clips (Part F). Clip a carabiner clip to the end link on both ends of each of the chain lengths, then clip one end through the eye of the eye-bolt on each of the uprights as shown in Figure 12 and Figure 13. Your Stand is now ready to use with your hammock.
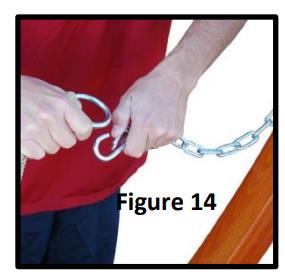
TO CONNECT YOUR HAMMOCK: Simply clip the O-ring at the end of your hammock to the carabiner clip at the end of the chain lengths as shown in Figure 14. Adjust the height of the hammock by moving the clip to an alternative link in the chain length.
Please Note: When using your stand for the first time you’ll notice creaking noises as the pieces Figure 14 settle in place. Once the stand has been used a few times the creaking noise will subside.
Caution: Care should always be taken when using your hammock stand but especially when using the stand the very first time. Please always use extreme caution when getting into and out of your hammock. Never exceed the weight capacity of the hammock or the hammock stand. Never allow young children to use the hammock or stand unaccompanied by an adult. Always inspect your hammock stand before each use to assure all parts are appropriately attached and tightened. Make sure to read and follow your hammock care instructions.
Care and Storage: The Wooden Arc Stand is finished with a protective outdoor finish. To prolong the life of the wooden stand try to store in a dry location especially through the winter months.